
Start with the tutorial, then review your lobby weapon and class before entering a match. Community recordings describe that sequence; tutorial weapons and rewards should not be treated as the starting conditions of every regular run.
Basis: Tutorial details come from community transcripts. Desktop controls are transcribed from the supplied Roblox Help screenshot on macOS; the current game build and every ability binding are not independently verified.
This Survive a Million Monkeys beginner guide covers the supplied Monkey Mayhem additions and the transition from the reported tutorial to lobby preparation and a regular run.
On this page
Survive a Million Monkeys beginner guide: Monkey Mayhem
| Announced addition | What the supplied text says |
|---|---|
| Laboratory map | An underground lab linked to Dr. Bananov |
| Bosses and Equipment | Monstrous monkeys and loot from the strongest monkeys |
| Climbing | Monkeys can scale vine-covered walls |
| New enemies | Flyers and Orangutans |
| Lobby rework | New class UI, weapon display on your character and a level system |
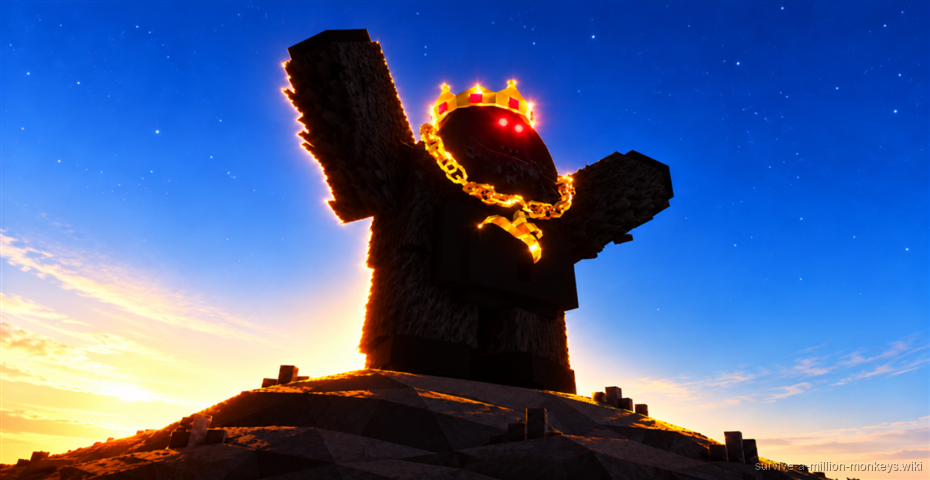
Artwork supplied alongside the Monkey Mayhem announcement. This is an illustration, not evidence of a boss name, stats or drops.
User-supplied artwork; original artist not specified · Source / open if playback failsKeyboard and mouse controls shown in Roblox Help
| Action | Key / mouse input |
|---|---|
| Move forward | W / ↑ |
| Move backward | S / ↓ |
| Move left | A / ← |
| Move right | D / → |
| Jump | Space |
| Equip / unequip tool | 1, 2, 3… |
| Drop tool (if supported) | Backspace |
| Use tool | Left mouse button |
| Rotate camera | Right mouse button |
| Zoom in / out | Mouse wheel |
| Zoom in | I |
| Zoom out | O |
| Roblox menu / resume | Esc |
| Backpack | ` |
| Player list | Tab |
| Chat | / |
| Toggle UI selection | \ |
| Screenshot (macOS) | Option + 1 |
| Developer console | F9 / Fn + F9 |
| Mouse lock (if enabled) | Shift |
| Graphics quality | F10 / Fn + F10 |
| Fullscreen (macOS) | Ctrl + Cmd + F |
| Performance statistics (macOS) | Fn + Option + Cmd + F7 |
| Leave while Roblox menu is open | L |
| Reset while Roblox menu is open | R |
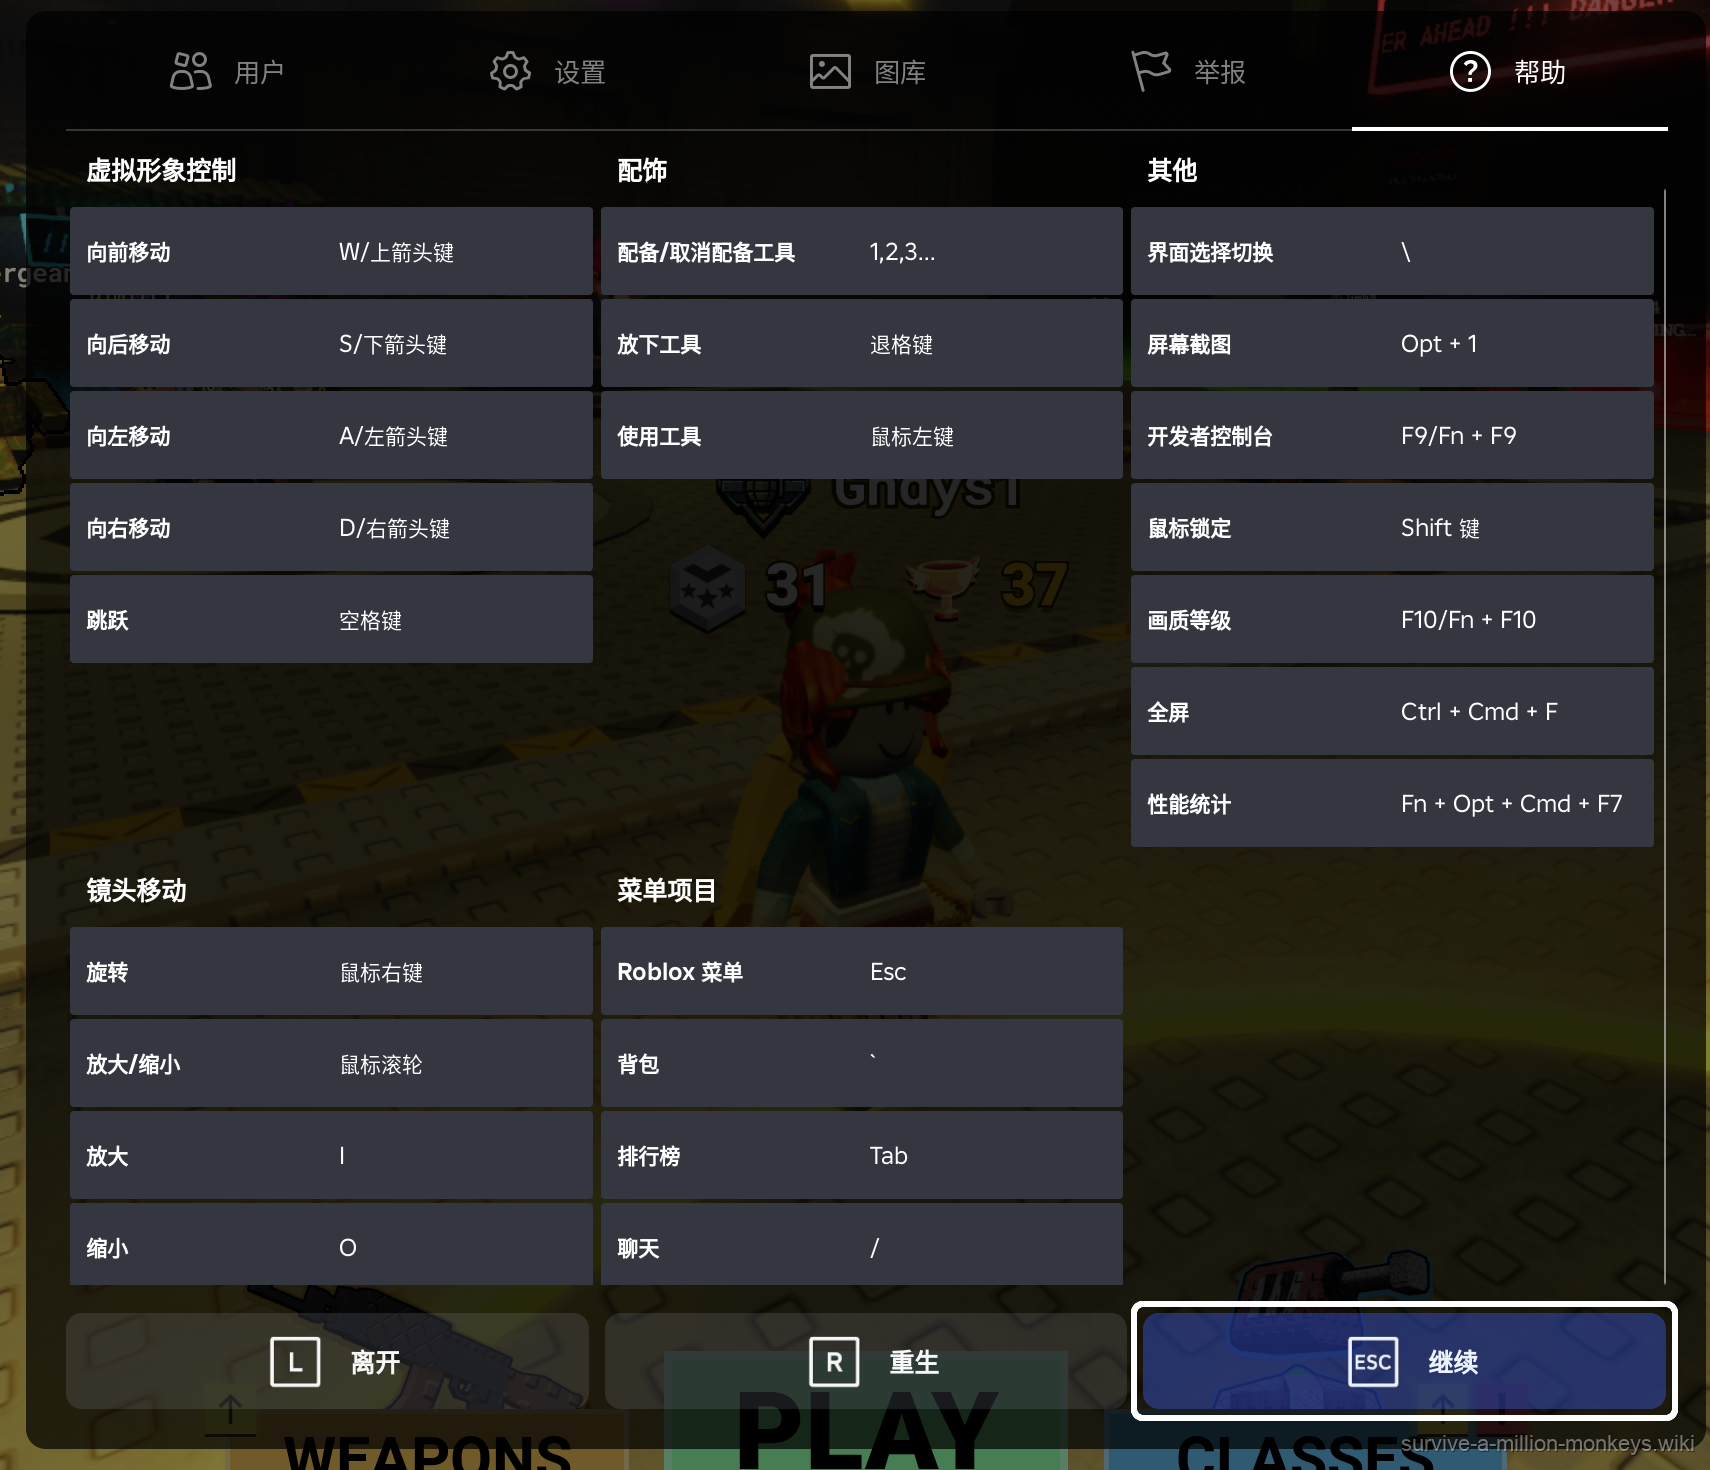
The supplied screenshot shows the Roblox Help menu on macOS. The table below transcribes that menu; it does not confirm every game-specific ability shortcut. Option/Cmd combinations are macOS shortcuts and should not be presented as Windows bindings. Tool drop and mouse lock are listed by Roblox, but availability can depend on the experience and its settings.
User-provided screenshot · Source / open if playback failsWhat the tutorial introduces
ItsChalls describes a five-wave tutorial at 00:24, starting with a pistol. The supplied transcript then mentions a barricade at 01:10, health upgrades at 01:31 and a Minigun at 01:56. These are the author’s reports, not a verified objective list for every current tutorial.
Follow the objectives displayed in your session. Use the tutorial to find your weapon, resources and defense options; the keyboard-controls section transcribes the supplied Roblox Help screen.
Finish the tutorial before choosing a loadout
DjKingCash’s recording includes players saying they obtained a Minigun at 01:54 and 02:25, then saying they finished the tutorial at 03:46–03:51. ItsChalls separately describes returning to the lobby and viewing tutorial results.
Use the return to the lobby as the point to review your next run. A powerful gun encountered during a tutorial does not establish that the same gun is equipped, unlocked or affordable in a regular match.
Relevant transcript: 01:54–03:51. Community report; current build and gameplay frames are unverified. The full video is embedded; the source link opens the referenced passage.
DjKingCash · Source / open if playback failsPlayback verification is pending or media is unavailable. The text answer and source link remain available.
Check your lobby weapon and class
At 03:35–04:00, ItsChalls describes equipping a free pistol, viewing weapon upgrades and looking at classes. TheSmartSpy also describes a weapon/loadout menu and then starting play at 03:32–04:12.
Before entering a match, compare the weapon currently equipped with any upgrade or class you are considering. Read the currency and price shown in your own interface; the recordings do not establish a complete current menu or class price list.
The newly supplied lobby screenshot shows the Weapons button and a tiered weapon inspection menu. Start with that menu when comparing lobby weapon offers; the update announcement also lists a new class UI and weapon display on your character. Class prices and level thresholds are not shown here.
What to watch during your first match
Pay attention to the resources your interface shows and the weapon you currently have. In regular-match recordings, players save toward a burst rifle or Minigun instead of receiving the entire tutorial loadout immediately.
ItsChalls reports 1,750 gems in one tutorial results screen. That is one author-reported sample, not a fixed reward promise. For survival decisions such as leaving room to move or experimenting with barricades, continue to the conditional tips.